Contact: John Foltz - john.foltz@usa.net
Workshop #2
Coroplast Tailboxes
Saturday, March 17, 2001
9:00 am-4:30 pm
Foster Community Center
Lansing, Michigan
Page 2
Saturday, March 17, 2001
9:00 am-4:30 pm
Foster Community Center
Lansing, Michigan
Page 2
With the front cut, but only loosely held in place, the next step was
the sides. Everyone determined how high and low the sides would run, and
determined the length needed to run from the rearmost tip to the foremost
point of the seat back. Frank also had to cut a piece for the rear panel.
While Steve attached one side first, then the other, Byron, Frank, and
Karsten attached the panels to each other at the rear, then fitted both
sides at once before punching holes and zip-tying. Karsten had another
idea, of using some aluminum u-channel to clamp the side panels together
at the rear. Unfortunately, it didn't work too well, and he eventually
gave up on it. Duct tape and zip ties were just easier.
 |
 |
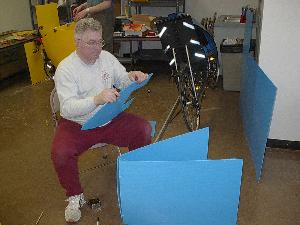
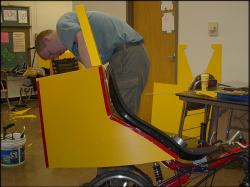
| Frank took the base back off the rack, turned the pieces upside down, and attached the base this way. Frank's sides did not extend below the base, so it was pretty easy to do this way, and no alignment problems! | Steve's Vanguard, with the sides attached. He still has duct tape holding the sides and front panel to the seat, and the front hasn't been zip tied yet. You can see the shadow of Steve's base, a few inches above the bottom of the side panel. |
 |
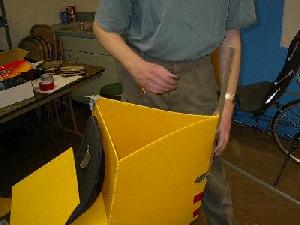 |
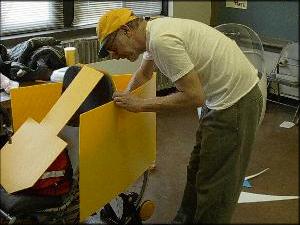
| Byron attaches the second side to the base. That piece on the seat is just scrap, remains from making the front panel. Byron is a math professor, but he and I still managed to add measurements wrong and cut the front panel too long on the first try. Oh well, better too long than too short, we can always make a second cut! | Karsten's box is coming along. Here, he has already cut the sides to mate with the front panel and zip tied the panels together. He's just about ready to pitch the u-channel, because it keeps popping off. |
Once the sides were in place, the front panels got attached to the sides.
Now, they were starting to look like tailboxes! Except for Karsten, we
attached the front panels to the sides, then trimmed the leading edge of
the side panels to the seat backs' countours. Karsten taped everything
in place, marked and cut, then attached the base and front to the sides.
The tops went on as separate assemblies, and everyone had different ideas
for making them. They all worked, too. Except for Frank's. Frank was so
busy puttering he never got around to the lid. That's OK, now he'll have
something to do later.
 |
 |
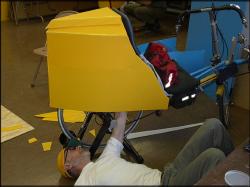 |
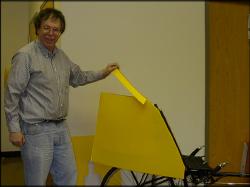
Above left, Steve demonstrates his top. If the tailbox looks slanted, it's because the bike is slanted. Steve's front wheel isn't on; he's got the bike sitting in his fork mount, taken from the van. Above right, Karsten tapes things up to cover seams. Left, Byron makes some final adjustments. Due to time constraints, nobody except Frank got the bottoms closed off. (For Frank, the base was the bottom!) You can see Steve's bottom piece standing against the wall behind him. It's a flat piece with a cutout for the wheel and stays, which he will slide underneath, and cut to mate with the sides and front panel. |
Counting the late start and a break for lunch, we worked for about 5 hours. Second projects would almost certainly take less time, as everyone was a little tentative starting out. With the advancing time, our idea for a short ride went out the window. Everyone wanted to get home for dinner. I think there's going to be some very pleased recumbent riders when they finally get these projects out on the road, in spite of the fact that anything with this kind of carrying capacity will tend to attract about 20 pounds of stuff they wouldn't normally carry. I forgot to warn them about that, but they'll probably realize it on the first big hill they have to climb. I for one plan on building a pocket for a water system in the lid of my box; I figure that's weight well spent, especially when it gets to be warmer outside.